Tutorial: Gift Bags

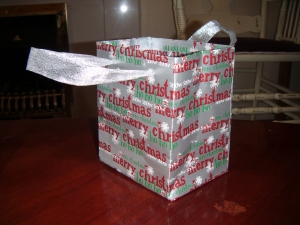
These are easy to make and chances are you will be able to make them from things lying around the house. I particularly like the effect when they are made out of magazines or newspapers and another benefit is that you often have these things anyway so they are FREE! As Christmas is quickly approaching I will be making for Christmas presents.

You will need:
Wrapping paper - I'm using the left over from last year

Ribbon - I'm getting some from my stash however if you do not have any you could use string, twine or even wool. If its too thin maybe you could cut several lengths and plait it for added effect.
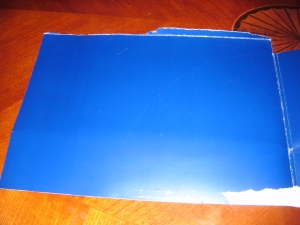
Card: I have taken this from some junk mail that came through the post

Ruler, glue or double sided tape, pencil and hole punch and scissors (although I've forgotten to take a photo of the scissors and hole punch).


Once you have gathered all of that you can then get started.

Step One

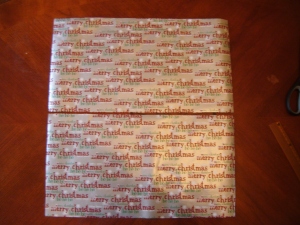
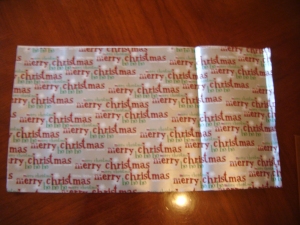
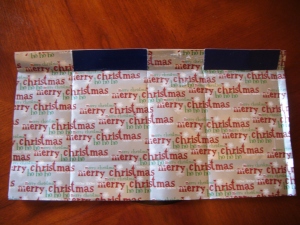
You need two rectangles of the paper that measure 39cm x21cm. If your paper has a directional pattern try to make sure it is going in the correct direction. Use my picture below to help you do this.


Step Two

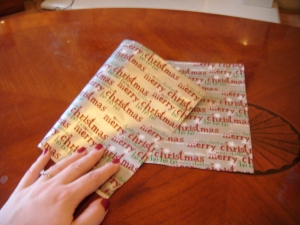
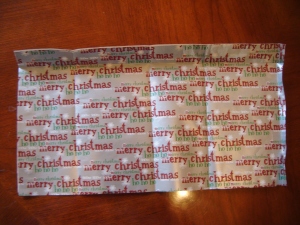
Stick together the two pieces of paper back to back. This will ensure that the inside of your bag is patterned and add to the strength. If you want it to be blank on the inside stick plain paper onto the back of it.

Step Three

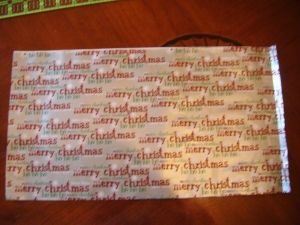
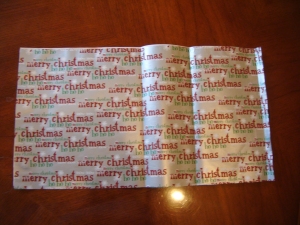
Make a fold 1cm from the right hand side.

Step Four

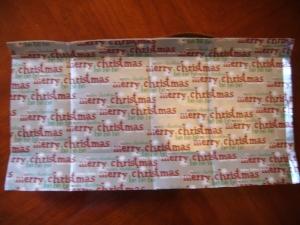
Make another fold 11cm on the left of the previous fold. This will make either the front/back.

Step Five

Make another fold 8cm on the left of the previous fold. This will make one of the sides.

Step Six

Make another fold 11cm on the left of the previous fold. This will not only make the other front/back but also will leave 8cm for the remaining side.

Step Seven

Make a fold 3 cm deep from the top.

Step Eight

Make a fold 5cm from the bottom.

Step Nine

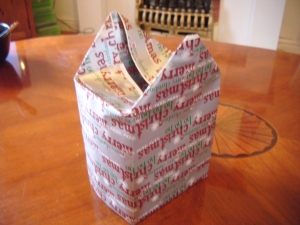
Cut out two piece of card 11cm x8cm to fit below the top flap (see below). This will add strength to the top of your bag. The fold down the flap and stick it down to make a neat edge.

Step Ten

Put glue on the 1cm flap and glow the four sides together.

Step Eleven

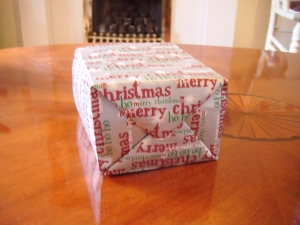
Turn the bag upside down and push down one of the 8cm sides. The fold along he flaps to make half triangles (see below)

Step Twelve

Repeat with the other side.

Step Thirteen

Stick down the flaps to make the base of the bag.

Step Fourteen

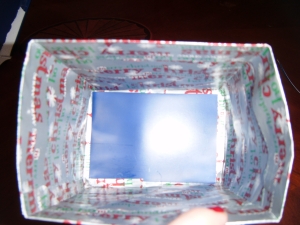
Next glue down a rectangle of cardboard into the base of the bag to strengthen the base.

Step Fifteen 

Finally make holes and thread ribbon through to make the handles.


Now it is ready to put your presents in and give to your nearest and dearest. The best things about it though is that each one can be made to suit the person you are giving it to and they are cost a fraction of what they are in the shop.

I hope you found this tutorial was helpful. I welcome any comments and thoughts you have.
Can’t believe I Used To Pay For Gift Bags!

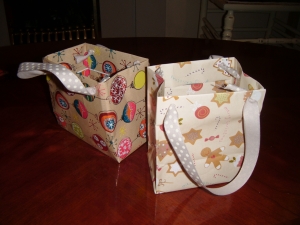
I’ve joined a small craft group in a hope of learning new skills and having more craft experiences. The craft of the evening was making gift bags, especially handy with Christmas just around the corner. They are actually quite simple to make and making them saves an absolute ton of money. I will just show photos to begin with and a tutorial will follow. When making these ones I forgot to take photos and so I don’t have any photos to go alongside the tutorial.

My Gift Bags

The one on the right was my first attempt and I must say it wasn’t entirely successful. For a start it just wasn’t rectangular at all. I guess it is full of character :-p

Epic Fail

The one on the right was my second attempt and lot more successful. For a start it actually looks like a normal gift bag. This one I might even be able to use.

Footstool Update

For a quick reminder of how my footstool looked before take a look at this link.

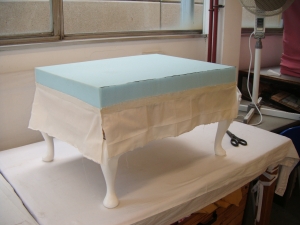
I have now painted the legs a lovely white which has cleaned it up really well. I have replaced the webbing and as you can see I am in the process of replacing the foam.

The white fabric hanging down has been glued to the foam and will be used to secure the foam to the footstool using 13mm improved tacks. I now need to go find the outer fabric for it. I can’t wait to see what it looks like finished.

Framed Glass Piece

Here it is! This is the first chance I have had to put it up onto my blog. I am really impressed with how it has turned out. It is now sitting happily on my living room side table. What do you think?


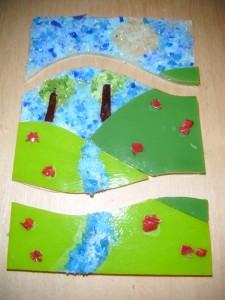
Last Thursday I went to another glass workshop where I made a framed piece. I am actually getting quite good at cutting the glass and I must say I am getting more confidence with my designs. Although this could easily become my downfall but time will tell. Maybe one day I will get sooooo good that I will be able to have my own kiln. I would also need a larger house to accommodate the kiln but that is a small technicality.

Glass before the kiln

When it comes out of the kiln it will be glued (with extremely strong glue) onto a lovely dark frame. Each of the three pieces will be kept separate and have a space between but will stay in the same frame. I think this definitely adds another dimension to an otherwise typical picture.

My next glass workshop is to learn to make a bowl so am going to have to start looking around for ideas. If you have any feel free to send them across.


Ta Daaaaaa!

This is just a quick post to show off my newly re-upholstery chair that was re-upholstered by yours truly. I have recently brought it home from college and am currently trying to solve the dilemma of where am I going to put it? So as a result it is now sat in the living room waiting for one of the rooms in my house to magically become larger to accommodate for it or for when we do eventually move house.

BEFORE

AFTER

Trimmed corner

I’m quite pleased with how it turned out. I was unsure about the white trim against the cream wood but I quite like the look of it now. I think it sets the purple of beautifully. Plus it was super hard trying to find a shop that stocked purple trim to match the fabric. I am now going to make a nice comfy cushion out of the fabric leftovers to lean my back on when sitting on it to make it extra comfortable.


Ebay Addict Strikes Again!

I have recently been buying furniture from eBay. In particular, I’ve been looking at furniture that it battered, unfashionable and basically unwanted. I love the idea of breathing new life into otherwise unwanted furniture…making something beautiful again.

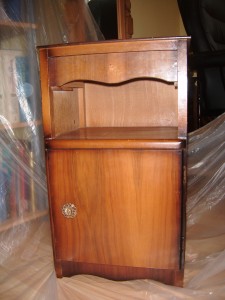
On Saturday, during one of my usual eBay browsing session I found this bedside table and realising it only had 15 minutes left I, of course, couldn’t help myself and impulsed bidded on it. I then found myself winning it and the lovely lady that was selling it asked me if I wanted to pick it up straight away. Anyone that knows me can imagine just how much of  a buzz I got from winning something and it was this excitement that made me immediately agree to collect. So Saturday evening I dragged my long suffering boyfriend along to collect my new project.

Since then I have been priming, sanding and painting and I now have the before and after photos. Although I am thinking about doing a little bit more to it.

BEFORE

It’s made of MDF and has that horrible plastic coating and was very scratched and battered but I really like the curved shape of the drawer and base and it has a really pretty door knob.

AFTER

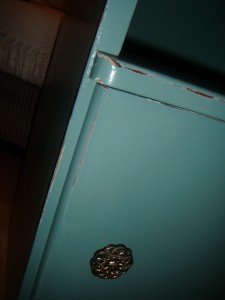
It took me a while to get this photo as it seems my dog loves to get in the way of photos. So now my digital camera is full of photos of his nose! Anyway, I have kept the door knob because I think it looks really nice against the greeny blue of the table. You can just about see the distressed edges and corners of the table but they can be seen a lot better in the photos below.

Distressed corner

Distressed edge with door knob

I’m thinking about painting trailing roses across the front of the drawer and base. I think this will add to the shabby chic-ness of the table. Although I am unsure about whether to paint them as kind of border of the door.

What do you think? If you have done something similar I would be really interested in seeing pictures or of hearing your opinions.

Nearly finished!!

I have now nearly finished my chair. Tomorrow should be the last day I need to work on it. As it currently stands it looks like this…

I had originally intended to do some crazy patchwork to cover it but after talking to my tutor I decided that this wasn’t the best project to do that on (the seat just isn’t really big enough) so I went to the fabric shop and managed to pic up a lovely soft piece of plain purple upholstery fabric for 50p!!!! I was able to get a couple of pieces so I will be able to make a matching cushion cover. Love a bargain!

I have been using the traditional method of upholstery so instead of using foam (which would have probably been easier) I used fiber held down with twine and several layers of wadding and different fabrics to smooth it over.  As you can see I have been getting plenty of practice with the magnetic hammer and during my last lesson at college I managed to only hammer 1 tack into my finger (quite an achievement for me). I don’t think I’m a natural at D.I.Y but as they say practice makes perfect. During tomorrows lesson I will be adding my fabric and trim and hopefully getting started on stripping my next project…a footstool. I can’t decide whether to upholster it to match my chair or in keeping with my living room. Decisions decisions.

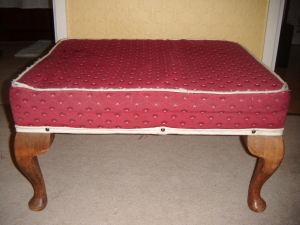
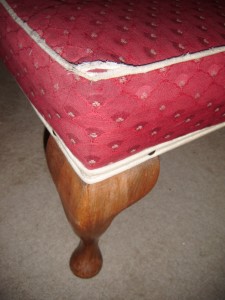
I found it at Newalk antiques fair. I managed to get it for £20 which isn’t bad because it has real wood legs. I had been hoping to find something a little cheaper and have been trawling ebay without much luck. As you can see from the pictures below it is quite battered but that’s the way I like them.

Even though the fabric is really manky I really like the shape of the legs and the size of the footstool…perfect for my next project!

Before finding this stool I have to confess I did find another one at a local carboot sale although I don’t like it as much.

It makes a good back up project and for the price of £4.00 it was truly a bargain. However, even though the shape is good I really don’t like the horrible plastic orange (meant to be wood effect) legs and I bet you inside its all mdf. So I’ve decided this is going to be a cheap at home job and I will hopefully sell it on for a bit of a profit. I think I’ll go for a shabby chic effect because that usually sells quite well. We will see how it goes!

Just call me the painting queen!

I have been a very busy bee! On top of my usual crafting and sewing I have enrolled onto an upholstery course. I completed my first class on Thursday and am looking forward to my next one this coming Thursday where I am sure to learn plenty of new skills.

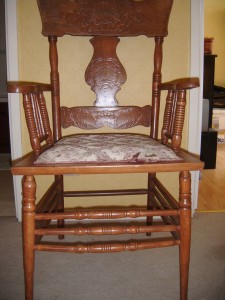
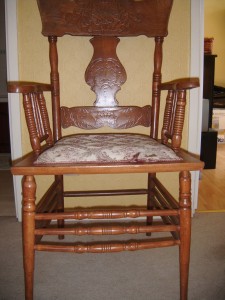
In preparation I trawled the internet, second hand shops and carboot sales and I eventually found my very first project…a battered and creaky wooden chair.

Before

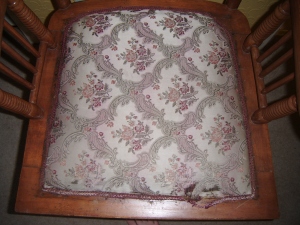
Seat Before - This fabric annoys me because whoever covered it before put the fabric on so it points towards the left.

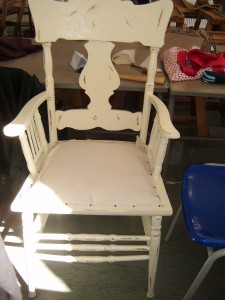
The picture makes it look shiny and quite nice but this is due to the flash on my camera. Unfortunately, it’s quite dull, scratched and in some places chipped. I started with the intention of sanding it right down and re-varnishing it. However, once I started stripping it down I soon found that there was about a million and one layers of varnish sitting on it (only a slight exaggeration :-p). I did consider getting it professionally stripped but as it is my first practice project I decided that it would be far too expensive so have painted it instead.

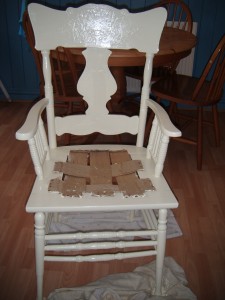
After being painted

My next class is on Thursday where I will hopefully be learning how to use the tools and starting to re-upholster the chair.

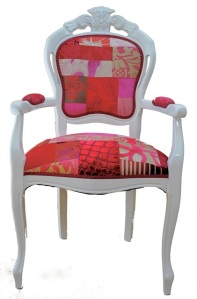
I have an idea of how I want the finished chair to look. I intend to combine my patchwork skills with the soon to be learnt upholstery skills to create something like the following.

Inspiration1

Inspiration2

Inspiration3

I’d love one of the big armchairs, however, I am realistic that it is probably too soon to attempt something so big :-p I would like the seat of my chair to be patch-worked though.

Fantabulous Friday!!!

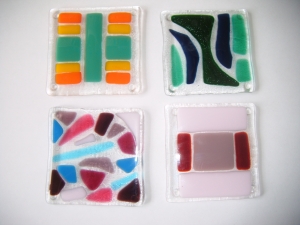
Set of 4 glass coasters

It’s nearly the weekend and I have now finally had my coasters back and they look great. They have been fired at such a high tempreature that they are flat and make the perfect coasters.

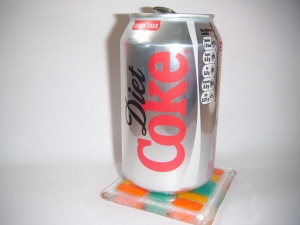
Testing my coaster!

They are even better than I expected. You can’t tell that some of the sides were not quite straight because of the glass melting.

I am one step closer to my ‘homemade home’, where everything has been made by me! Well that’s the dream anyway. It means I have a lot of crafts to learn.

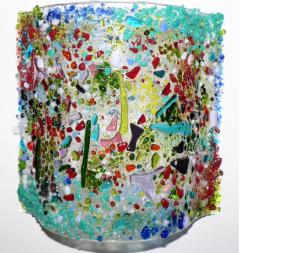
Yesterday I collected my glass coasters and also had another workshop to make a free standing curved structure similar to the one below. It will be able to stand up and I will put a little behind it to turn it into a little light.

It will be like this but with my design on it instead.

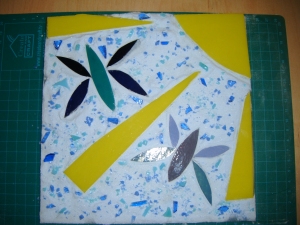
It will have my design on it, which is a two butterflies flying in the sky.

Before the firing!

It will be fired flat to begin with to prevent the glass from slipping and then will be fired again to shape it into the curve. It won’t be fired at such a high temperature because I don’t want to lose the texture of the shards of glass in the sky. I will be able to collect it on Monday and I can’t wait!
This week I don’t have tons to show for the amount of sewing I’ve been doing. But I have finally finished all 20 blocks for my double quilt. They just need squaring up and the sashing adding and then I can think about adding the wadding and backing. I look forward to seeing it finished.

I have managed to make a little make up bag that I found the tutorial for through The Fledgling Seamstress Blog . The tutorial is from Three Bears. It was a pretty easy tutorial to follow and it made a good introduction project for my sewing machine as well. I thought that once filled with some nice cosmetics and decorated with some cool yoyos (another thing I have learnt how to make this week), buttons and ribbon they would make some pretty funky  presents.

This weeks aims are to:

  • square up and add sashing to my sample quilt blocks,
  • make some kind of bag from one of my many magazines and books I have collected and am yet to use,
  • (I know it’s early to be thinking about it but I want to be on top of things) try to make merry christmas bunting.


Previous Older Entries